
Choosing a Box.
Standard boxes are the type that you will use most. These boxes can contain text, links, databases, books, etc.
Tabbed boxes are similar to standard, except now you can create multiple tabs within the box. This makes it possible to add more content without forcing your users to scroll down a page with lots of text.
Gallery boxes display images which rotate within the box, with text.
Types of Assets.
Databases are subscription/paid resources available at our library.
Links provide a connection to a website that is NOT a database.
Rich Text/html - Simple text format, such as the list in this box.
Books typically include an image of the book cover, call number, and URL to the catalog record.
RSS feeds are a web feed that publishes frequently updated information, such as blogs and news sites.
Media/Widgets are search boxes, YouTube Videos, etc.
Polls are a list of questions for your visitors to answer.
If you want to add a website, database, or book to a box, then please use one of the defined asset types via 
You can create a new asset or reuse an existing asset that was created previously. All assets are saved in a repository for reuse. All information, including a description of the source, are saved with these items and will display as such when you generate a resource lists.
Additionally, the best way to manage links is by storing them in our central repository. Please check to see if a website, database, or book has already been added to the central repository before attempting to create a new asset. Broken links will appear in the Link Checker.
New Boxes. Click on Add Box. Under Create New Box, fill in the box name. Next, select a type (Standard, Tabbed, Gallery, Profile) and position (Order). To add content, click on . A Standard box with Rich Text/HTML will appear exactly like this box once you type and save your information.
Floating Box (optional). Check this box if you would like the box to appear without borders, padding, or a box title while in the public view.
Draft Mode (optional). Check this box if you want this item hidden from public view while you are working on it.
Reusing Boxes. If you would like to reuse an existing box, then click on this tab. Under Guide, select the guide that contains the box you wish to reuse, then select the box from the display menu. Once the box has been selected, you can choose between creating a "linked" version or a stand-alone copy. Fill in the box name and select the position. If your box is linked to an original (box that was reused), then any changes made in the original will appear in the duplicates.
The Link asset type is used for web links. Anytime you want to add a link to your box (that isn't a Database link), you should use this asset type. Adding your link using the link asset means that it is included in the central repository. You can give your link assets descriptions, resource icons, and subject associations that add context to your link.
Click on (insert image), then select Link. Fill in the name, URL, and description.

Example Below.
This asset type is designed for you to list/link Books, as well as other items from your catalog, to your guide. Books from the Catalog that have previously been added, are included in the Assets repository. This asset type shouldn't be used from links or databases.
To add this asset type click on then select Book from the Catalog. You can either add a new book, or click the Reuse Existing Book tab.
Use the ISBN to auto-fill fields and cover art by clicking Get Book Info. If the book info is available, then the fields will be populated. You can then edit these fields and add information. Make sure to use a URL to link your book to the catalog record. You can also add Resource Icons (that already exist in your system), a Thumbnail Image, or Subject Associations (check tab).

Example Below.
 The Library
by
The Library
by
RSS Feeds are included in the assets repository. You can use this asset type to display a feed from a blog, a journal, or feed from a saved search, etc. RSS stands for Really Simple Syndication and/or Rich Site Summary.
In order to add this asset type, click on Choose RSS Feed, then either create a new feed or click the Reusing Existing Feed tab to use an existing RSS Feed. Make sure the give it a name and add the URL for the feed. You can also choose the number of items that display, how the descriptions display, setup proxy settings, and/or associate Subjects with the asset. Don't forget to click Save.

Example Below.
Would you like to share a quick Poll with your users? Use this asset type to define up to 10 poll choices and an optional link to each of them.
In order to add this asset type, click on and choose Poll. You can either create a new Poll or click the Reuse Existing Poll tab to add an existing Poll asset. When creating a new poll, you will give your poll a title and define up to 10 choices fro your users to choose from. You can also link a URL to each poll choice. Don't forget to click Save.

Example Below.
Step 1. In your new box click Add/Reorder, then select a Database
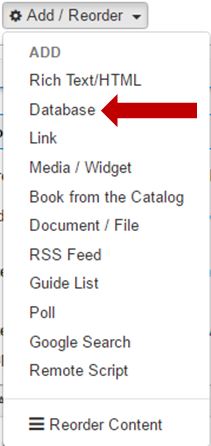
Step 2. Type the name of the database you want to add if it appears in the drop down menu.

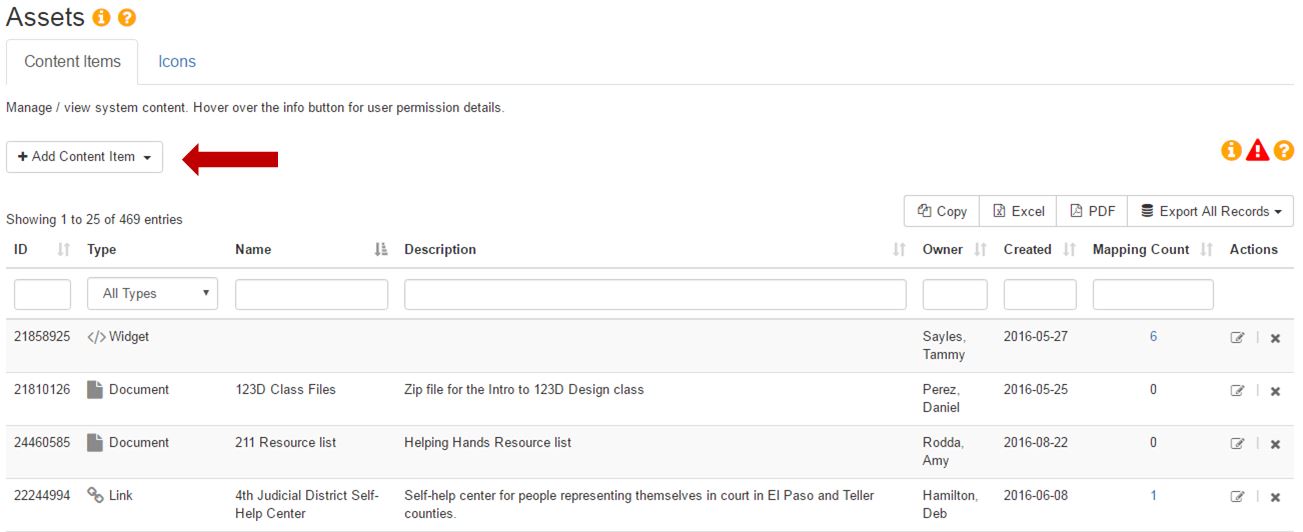
Step 3. If you are unable to locate your item, then click on the Assets link. This will redirect you to a different screen where you can add a new database that the library subscribes to. Click Add Content Item, then select Link. Fill in the required information, and make sure to include the URL.
Step 4. After selecting a database, customize the database description and determine how you would like the description to display. A default description will appear directly beneath the item title if you do not choose to make any changes. Don't forget to click save!
Example Below.
| Criteria | Questions to Ask |
|---|---|
| Currency |
Does your topic require current information, or will older sources work as well? Has the information been revised or updated? When was the information published or posted? Are the links functional? |
| Relevance |
Does the information relate to your topic? Who is the primary user group? Is the information at an appropriate level (i.e. not too elementary or advanced for your needs)? Have you considered a variety of sources before making a final decision on what sources to recommend? |
| Authority |
Who is the author (person, company, or organization)? What are the author's credentials and affiliations? If a website, does the URL provide insight? examples: .com .edu .gov .org .net |
| Accuracy |
Is the information reliable and correct? Where does the information come from? Can you verify any of the information in another source or from personal knowledge? Does the language or tone seem unbiased? Are there spelling, grammar, or typographical errors? |
| Purpose |
What is the purpose of the source? Is it to inform, teach, sell, entertain or persuade? Do the authors/sponsors make their intentions or purpose clear? Does the point of view appear objective and impartial? Are there political, ideological, cultural, religious, institutional or personal biases? |
Adapted from Evaluating Information - Applying the CRAAP Test from the Meriam Library at California State University, Chico
Create a box of rotating images that you have uploaded to your Image Library or that you found online.
Adding Images to a Gallery Box.
Step 1. Add the Gallery box to the page, then click on the Cog icon in the box's header. 
Step 2. On the Add/Edit Panes window for the Gallery Box, paste in an image's URL or click Browse to add an image from your Image Library. Fill in a label and caption. Also, you can add a link to the image if your want it to be a clickable link.

Step 3. Click Create to add another pane, or click OK to save your box. If you make changes to your label, caption, or image URL, then click Update.
Image Widths:
Top/Bottom box or a Single column: 1200 px
25% column: 300 px
50% column: 600 px
75% column: 900 px
The Gallery Box will automatically change its height based on the current image, so make sure all of your images are the same height.
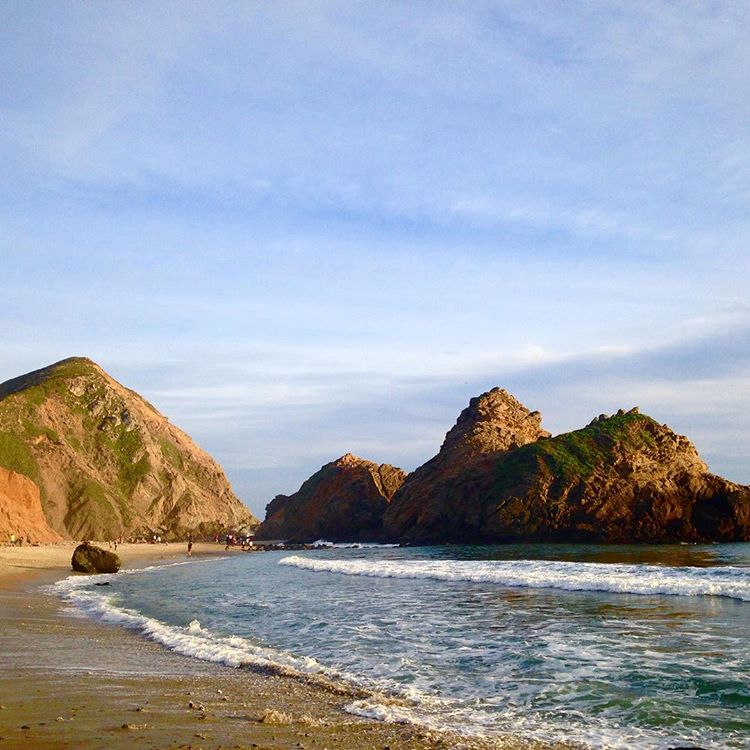
Explore
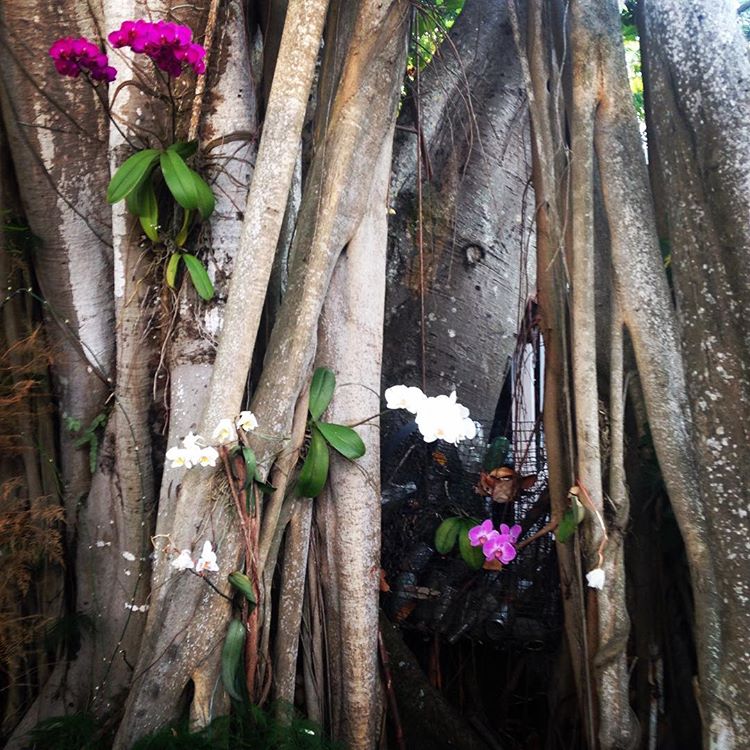
"The Earth laughs in flowers"
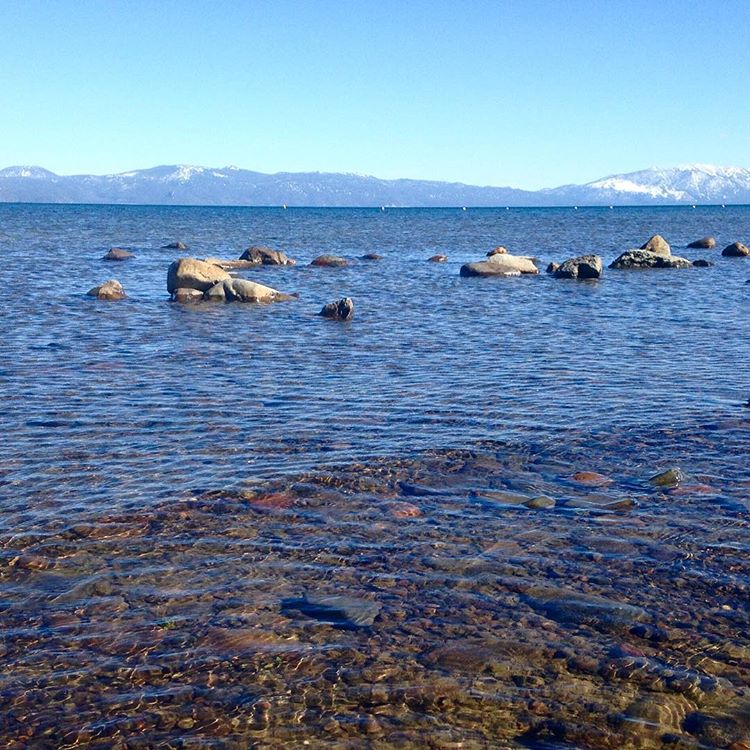
Peaceful Waters